
Nov 10, 2026
Road Roller Operating Tips for Soil Preparation and Base Layer Compaction
A site crew finishes grading the subgrade for a new commercial parking lot. The surface looks smooth and firm, so the roller makes a few quick passes and the base course goes down the next morning.
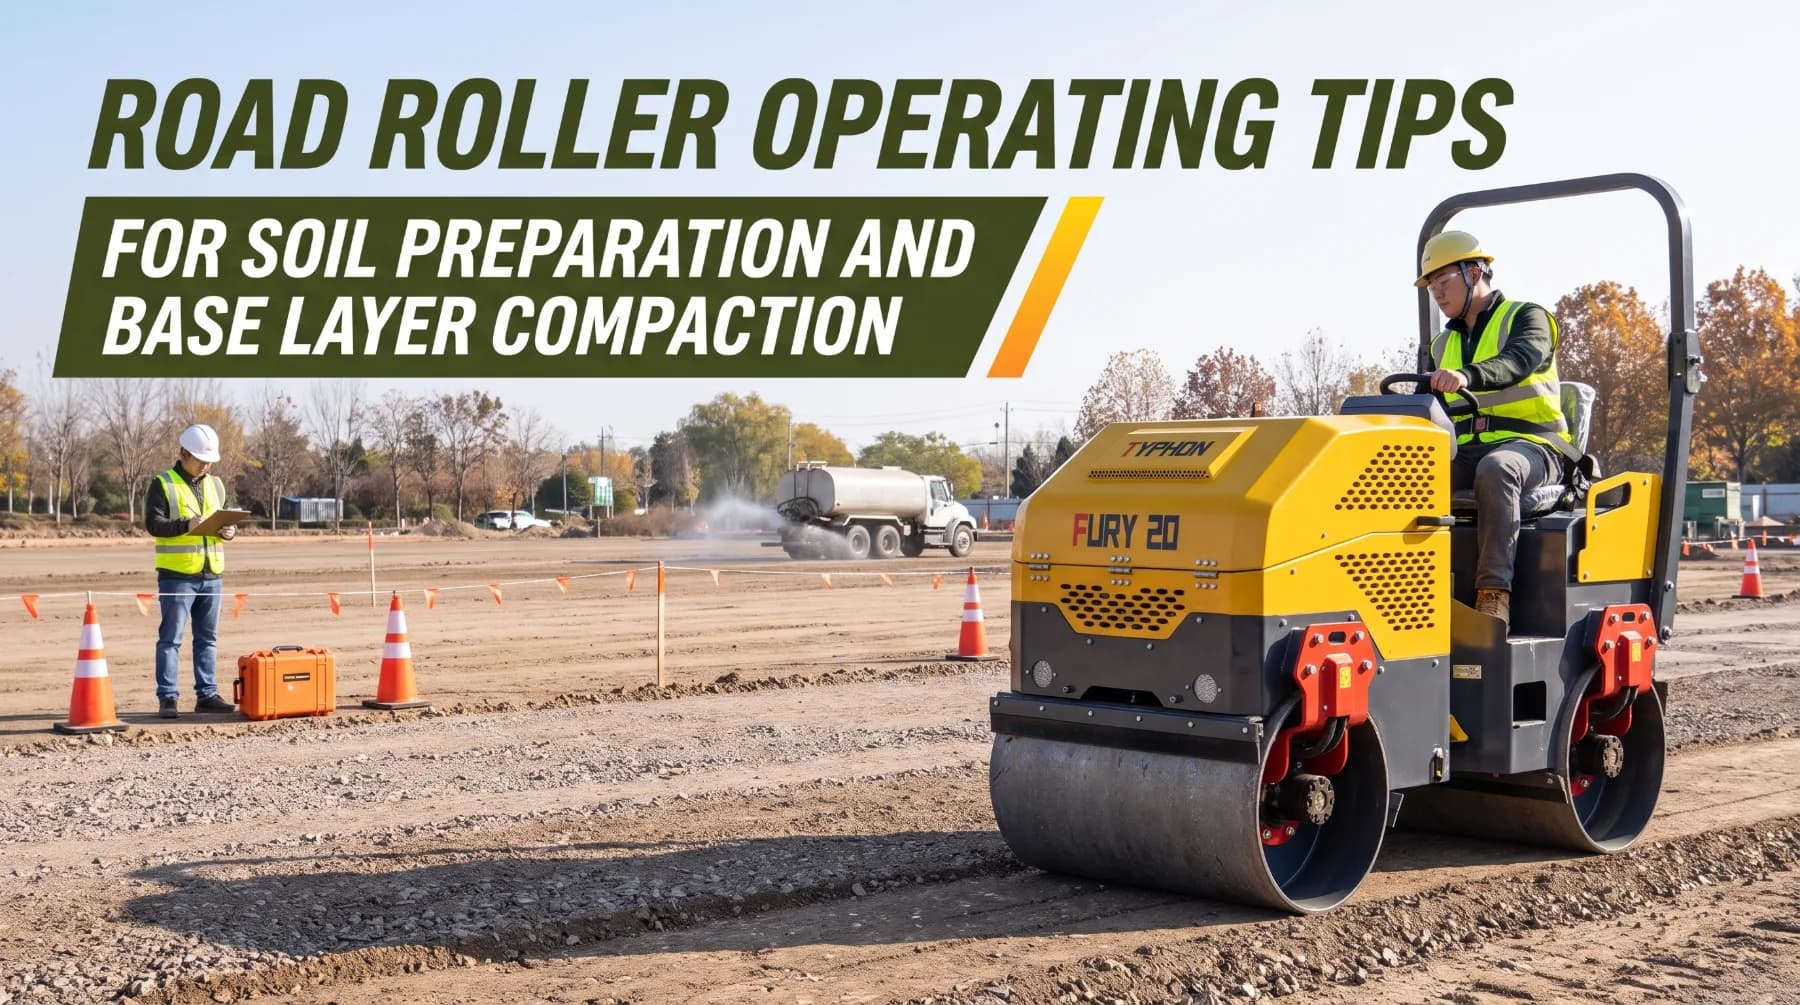
A site crew finishes grading the subgrade for a new commercial parking lot. The surface looks smooth and firm, so the roller makes a few quick passes and the base course goes down the next morning. Six months after paving, the asphalt shows ruts along the drive aisles and a long crack where the base settled over a soft spot no one tested. The repair means tearing out the pavement, recompacting the base, and repaving the whole section.
Road rollers prepare construction surfaces and compact base layers for paving, slabs, and further site development. A uniform, well-compacted base supports the structure above it and resists settlement under traffic. Consistent results depend on several factors: ground preparation, soil moisture, roller selection, rolling pattern, travel speed, vibration settings, and quality testing. The number of passes required depends on soil type, moisture content, and project specifications. This guide covers each factor so operators and site managers can produce a stable foundation and pass inspection the first time.
Check Soil Moisture Conditions
Moisture content has more influence on compaction than almost any other factor. Water lubricates soil particles so they slide into a denser arrangement under the roller. Too little water and the particles resist movement. Too much and the water fills voids that the particles should occupy, so the soil cannot reach the required density.
Each soil has an optimum moisture content, the moisture level at which it reaches its maximum dry density under a given compaction effort. Laboratories determine this through the Proctor test, using either the standard method (ASTM D698) or the modified method (ASTM D1557). Project specifications usually require field density as a percentage of the laboratory maximum, often 95 percent or higher for base and subgrade, with moisture held within a set range of optimum. Your specification and the geotechnical engineer's report define the targets for your project.
Cohesive soils such as clay and silt react strongly to moisture. Dry clay forms hard clods that the roller bridges over instead of breaking down. Wet clay pumps, ruts, and rebounds under the drum, and extra passes only make it worse. Granular soils such as sand and gravel are less sensitive, though they still compact best near their optimum moisture. Clean sand often needs water to compact well, while well-graded gravel can lose fines and stability when it gets too dry.
Adjust moisture before you compact, not during. When material is too dry, add water with a water truck and mix it evenly through the lift with a grader or disc, then let it absorb. When material is too wet, scarify or disc it to help it dry, or remove and replace it if drying isn't practical. Check moisture with the testing method your specification requires, such as a nuclear density gauge, oven-dry samples, or another approved procedure. Experienced operators can spot obvious problems by squeezing a handful of soil, but that check is not a substitute for testing.
Key takeaway: Compact soil near the optimum moisture content defined by your project specification, adjust moisture before rolling, and confirm it with approved testing methods.
Verify Compaction Quality
A compacted base can look smooth, tight, and finished while sitting below the required density. Appearance doesn't measure density, and an operator's sense of how the roller feels doesn't either. Field testing is the only reliable way to confirm that each lift meets the specification before the next layer goes on top.
Compare each result with the specified target, which is usually a percentage of the laboratory maximum dry density along with a moisture range. Test every lift at the frequency the specification requires, and add tests where the material changes, where you notice yielding, or where previous results were borderline. Record the location, depth, lift number, result, moisture content, and date for every test. That record supports inspection, protects your company if questions arise later, and shows patterns that help you fine-tune your rolling process.
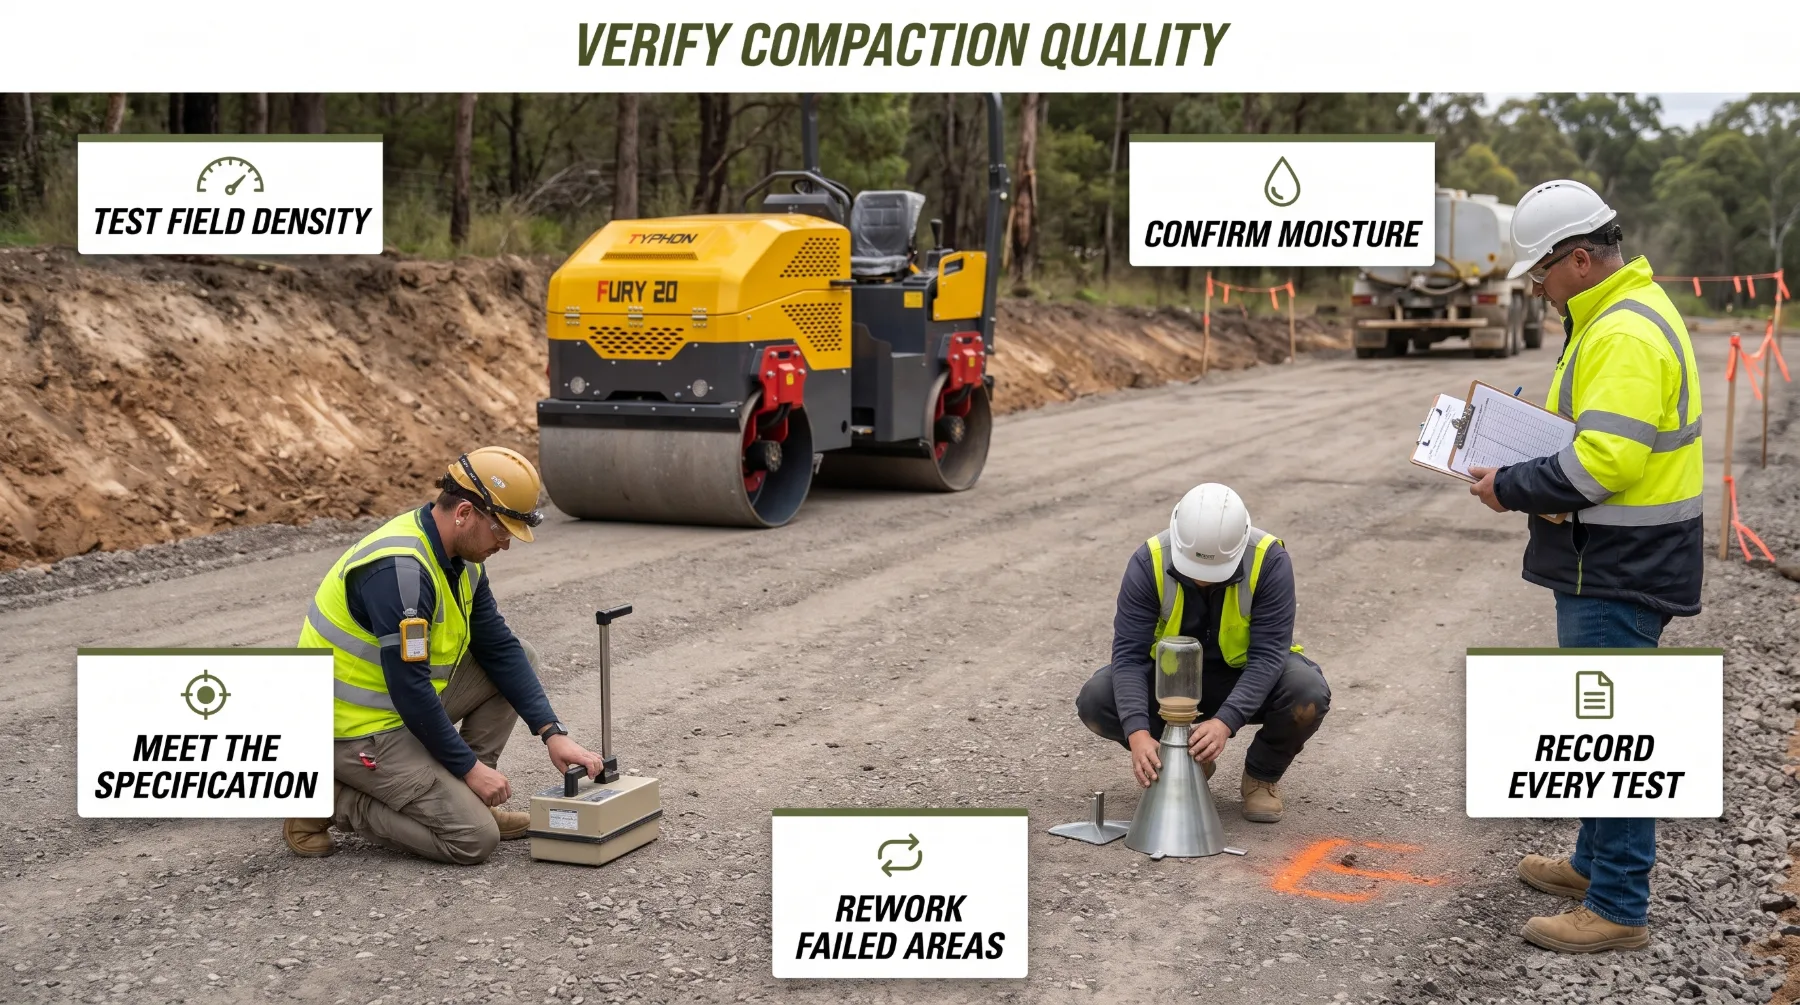
Rework areas that fail before you continue. A failing result may point to moisture outside the target range, a lift that was too thick, too few passes, an unsuitable roller, or a soft area beneath. Correct the cause, recompact, and retest. Never place the next lift over a failed area. Many projects also require inspector approval of each layer before work moves forward, so build test turnaround time into your schedule.
Operate safely throughout the job. Complete a pre-operation inspection covering the brakes, steering, drum scrapers, backup alarm, lights, and rollover protective structure. Wear the seat belt whenever the machine is equipped with one, and ensure all safety systems are functioning properly. Follow the manufacturer's operating instructions, safety requirements, and recommended slope limits. Maintain a safe distance from unsupported edges, embankments, and trenches. Keep testing technicians and ground crews clear of the roller's travel path, establish clear communication signals before anyone enters the work area, and stop the machine whenever personnel move out of the operator's view.
Key takeaway: Confirm density and moisture with the field tests your specification requires, record every result, rework failing areas before placing the next lift, and keep testing crews clear of the roller.
Select the Correct Roller
Different materials need different compaction forces. A roller that works well on a crushed stone base may struggle on wet clay, and a machine built for clay may break down the surface of a granular base. Matching the roller to the material is one of the simplest ways to reach density with fewer passes.
Smooth-drum vibratory rollers with a vibrating drum system are the standard choice for granular materials, including sand, gravel, crushed aggregate base, and recycled aggregate. The vibrating drum transmits repeated impacts into the ground, shaking the particles so they settle into a dense arrangement, while the smooth drum leaves a flat, even surface. Single-drum soil compactors are commonly used on subgrade and base courses, while smaller tandem rollers suit confined areas, sidewalk bases, and trench backfill.
Padfoot rollers, also called sheepsfoot or tamping-foot rollers, are better suited to cohesive soils such as clay and silt. Their raised pads push into the lift, knead the soil, and apply concentrated pressure from the bottom of the lift upward. Many single-drum compactors accept a padfoot shell kit, which lets one machine handle both soil types. Padfoot work is often followed by a smooth-drum pass to seal the surface against rain.
Pneumatic-tire rollers apply a kneading action through rubber tires. They are widely used for proof rolling, finishing granular bases, and sealing surfaces. Static steel-wheel rollers, which are compact by weight alone, still have a role on thin lifts and finishing work where vibration isn't suitable. Asphalt work calls for its own roller setup and is a separate operation from soil and base compaction.
Size and lift thickness also matter. A heavier roller with greater compaction force can reach deeper into the lift, but every machine has a practical depth limit. Place material in lifts that suit both the specification and the roller's capability, which is often somewhere around 6 to 12 inches of loose material for many soil and base applications. Follow the specified maximum lift thickness, since compacting an overly thick lift often leaves a dense surface over a loose layer underneath. In confined areas such as trenches and around structures, use plate compactors, rammers, or trench rollers rated for the work.
Key takeaway: Use smooth-drum vibratory rollers for granular material, padfoot rollers for cohesive soil, and pneumatic rollers for proof rolling and finishing, and match lift thickness to the roller's capability and the specification.
Establish a Consistent Rolling Pattern
Even the right roller produces poor results when it covers the area unevenly. Random passes leave some strips over-compacted and others barely touched. A planned rolling pattern delivers uniform coverage, so density stays consistent across the full width and length of the work area.
Count passes and keep the count consistent. One pass usually means one trip over a given point, though some specifications define a pass as a round trip, so confirm the definition with your project team. The number of passes required depends on soil type, moisture content, lift thickness, roller configuration, and the density the specification demands. Many projects set the pass count with a test strip at the start of the job. The crew compacts a section, tests density after each pass, and records the point where density stops increasing. That pass count then becomes the standard for the matching material and conditions.
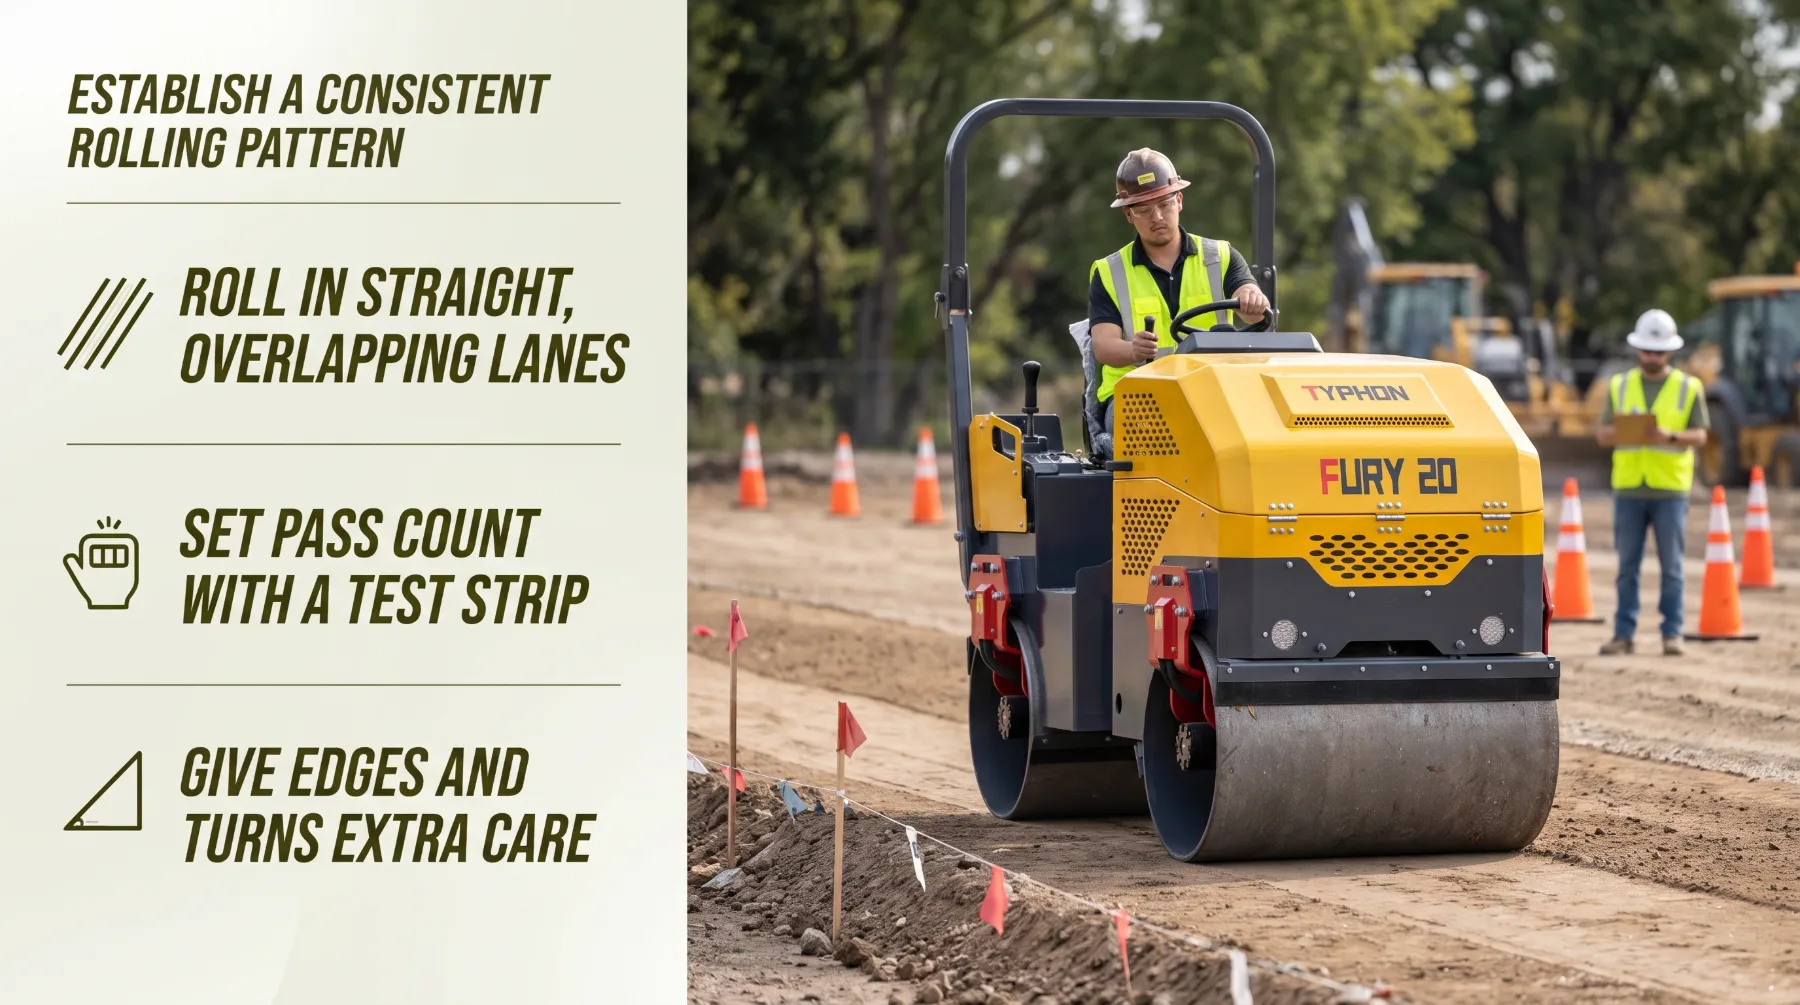
Give the edges extra attention. The outer edge of a lift has no material beside it to confine it, so it often compacts less and can slough or shift. Keep the drum a safe distance from unsupported edges, and compact edges with the method your specification and the roller manufacturer allow. Stagger the points where you change direction so you don't build a line of ridges or depressions in one spot. Make direction changes smoothly on material that has already been compacted rather than on loose lift edges.
Key takeaway: Roll in straight, overlapping lanes, set a consistent pass count from a test strip, and give unconfined edges and turning points extra care.
Control Speed and Vibration
Travel speed and vibration settings decide how much compaction energy reaches each part of the lift. A roller moving too fast spreads its energy over a longer distance, so the material receives fewer impacts per foot. The wrong vibration setting can either fall short of the required depth or damage the material and surface.
Most vibratory rollers let the operator choose amplitude and, on some models, frequency. Amplitude is how far the drum moves during each vibration. Higher amplitude drives energy deeper and suits thicker lifts and coarse granular material. Lower amplitude suits thin lifts, finishing passes, and material that is already near its required density. Frequency is how many vibrations occur per second. Follow the roller manufacturer's recommendations for each material and lift thickness, and adjust based on test results rather than feel.
Use vibration with care. Turn vibration off before the roller stops or reverses, since a vibrating drum on a stationary spot digs a depression into the surface. Avoid excessive vibration on material that has already reached density. Over-rolling can loosen the surface, fracture aggregate particles, and cause the upper layer to decompact. When the roller begins to bounce or the drum hammers rather than rolls, the material has likely reached its limit at that setting. Vibration also travels through the ground, so reduce amplitude or switch to static rolling near buildings, retaining walls, foundations, buried utilities, and freshly placed concrete. Follow any vibration limits set in the project documents.
Key takeaway: Roll at a slow, steady speed, choose amplitude to suit lift thickness and material, switch vibration off before stopping or reversing, and reduce vibration near structures and utilities.
Conclusion
Effective soil preparation and base compaction require proper ground preparation, moisture control, and consistent rolling. Clear the site, correct soft spots, and manage drainage before compaction begins. Bring the soil close to its optimum moisture content, then select a roller suited to the material and lift thickness. Use an overlapping rolling pattern, steady travel speed, and suitable vibration, with the pass count established through a test strip. Field testing must confirm the required density because a finished-looking surface does not always indicate proper compaction. Review project specifications for density targets, moisture ranges, lift thickness, and testing frequency. Brief the crew on the rolling pattern and safety procedures, and arrange testing to approve each lift before placing the next. These steps help create a stable base for the pavement, slab, or structure above it.
Frequently Asked Questions
How many roller passes are required?
The number depends on soil type, moisture content, lift thickness, roller configuration, and the density your project specification requires. Many projects set the pass count with a test strip, where density is measured after each pass until it stops increasing.
Does soil moisture affect compaction?
Yes. Each soil compacts best near its optimum moisture content, determined by a Proctor test. Soil that is too dry resists compaction, and soil that is too wet pumps, ruts, and cannot reach the required density.
Which roller is best for every base layer?
There is no universal choice. Smooth-drum vibratory rollers suit granular materials, padfoot rollers suit cohesive soils, and pneumatic-tire rollers suit proof rolling and finishing. Match the roller to the material, lift thickness, and specification.
How can contractors confirm compaction quality?
Use the field density testing method your project specification requires, such as a nuclear density gauge or sand cone test. Compare results with the specified target, record each test, and rework any area that fails before placing the next lift.